Google Docs is a powerful tool for creating and editing documents, but its default font may not always suit your needs. Whether you’re drafting a report, writing a paper, or preparing a presentation, customizing the default font can make your work more polished and tailored to your style.
Fortunately, changing the default font in Google Docs is simple and can save you time in the long run. This guide will walk you through the process of setting your preferred font as the default, so you don’t have to adjust it every time you create a new document.
Why Set a Default Font in Google Docs?
Setting a default font in Google Docs saves you valuable time and ensures consistency in all your documents. Instead of manually adjusting the font each time, you can streamline your process and maintain uniformity throughout your work. By choosing a font that suits your style and the purpose of your documents, you enhance readability and professionalism. Whether you are working on a personal blog, a professional report, or an academic paper, customizing your font is a small change that can make a significant difference.
If you’re working with a team or need consistent formatting for company documents, setting a default font helps avoid errors. It also makes collaboration more efficient, as everyone involved uses the same font without constantly changing it. Furthermore, customizing the font aligns with your brand or personal aesthetic, ensuring that each document reflects your preferred style.
To start the process of changing the default font, follow these steps and see how easy it is to personalize Google Docs for your needs.
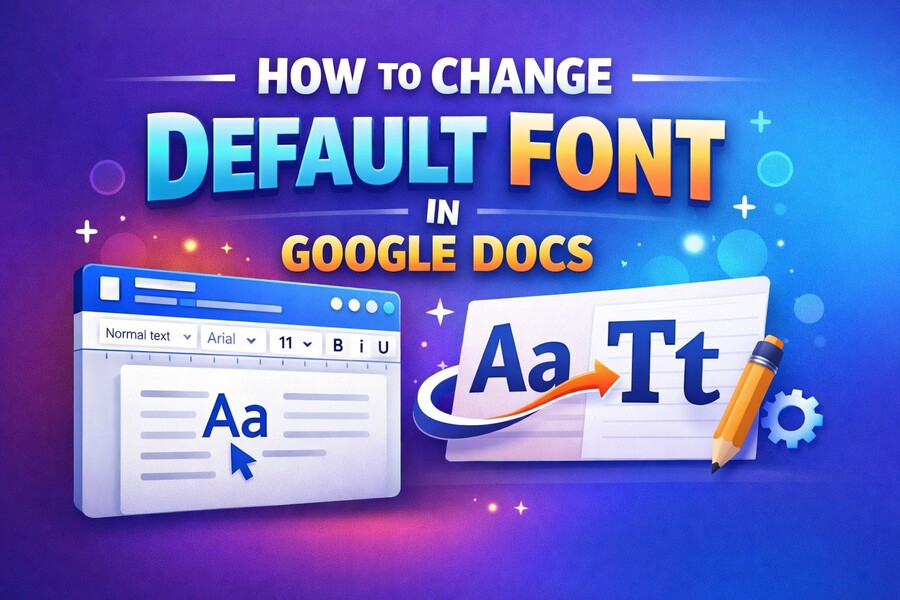
Steps to Change the Default Font in Google Docs
Changing the default font in Google Docs is quick and simple. Follow the steps below to ensure your preferred font is automatically applied to every new document you create.
- Open Google Docs: Start by opening a new or existing Google Docs document.
- Select the Font: Highlight some text in the document. Then, go to the toolbar at the top of the page and select your preferred font from the font dropdown menu. You can choose from the available Google fonts or any custom fonts you’ve added.
- Change the Font Style: Adjust the font size, style, and other formatting settings like bold, italics, or underlined as needed.
- Set as Default: After selecting and customizing your font, click on the “Format” menu at the top of the page. In the dropdown, click on Paragraph styles, and then choose Normal Text. From there, select Update ‘Normal Text’ to match. Finally, go to Format, then Paragraph styles, and click Save as my default styles.
Now, your new font will be set as the default for all future documents, making it easier and faster to create content with your preferred settings. You can repeat this process to change the font at any time, ensuring that your documents always look the way you want.
If you’re looking to further personalize your Google Docs experience, you might also want to explore additional formatting options such as line spacing, margin settings, and document templates.
Customizing Fonts for Specific Sections
In addition to setting a default font for your entire document, you can also customize fonts for specific sections. This is particularly useful if you’re working on documents that require headings, subheadings, or quotes in different fonts. To customize fonts for headings, subheadings, and other text styles, follow these steps:
- Highlight the Section: Select the text that you want to format, such as a heading or subheading.
- Change the Font: Choose your desired font from the toolbar and apply any other formatting, such as size or color.
- Save as Style: Once you’re satisfied with the formatting, go to Format, select Paragraph styles, and choose the style you want to update (e.g., Heading 1, Heading 2, etc.). Then, click Update [Style] to match and save it.
This method allows you to create a well-organized and visually appealing document, with different sections reflecting your specific font choices. It’s a great way to make headings stand out and keep the body text legible and professional.
Troubleshooting Font Changes in Google Docs
Sometimes, you may encounter issues when trying to change the default font. If you notice that your font changes aren’t being applied to new documents or sections, try the following troubleshooting tips:
- Clear Formatting: If the font doesn’t change as expected, select the text and click Format, then Clear formatting. Afterward, try setting the font again.
- Check Browser Compatibility: Some browser extensions or settings might interfere with Google Docs’ font settings. Try disabling any extensions that could affect your document formatting.
- Use Google Docs in Incognito Mode: If you’re still having trouble, try using Google Docs in incognito or private browsing mode to see if the issue persists.
If these steps don’t resolve the issue, consider checking for updates in Google Docs or seeking assistance from their support forums.
Using Custom Fonts in Google Docs
Although Google Docs doesn’t support uploading fonts directly from your computer, it does offer a wide range of fonts through the Font menu. If you need a custom font that’s not available, you can install third-party fonts using extensions like Extensis Fonts or Google Fonts. These extensions allow you to access thousands of additional fonts and use them in your documents.
To install a font extension:
- Visit the Chrome Web Store and search for a font extension.
- Install the extension and follow the instructions to add fonts to Google Docs.
- Once installed, open your document and access the new fonts through the Font menu.
Custom fonts are especially helpful for creating documents that align with specific brand guidelines, making your work look more professional and polished.
Why Default Font Settings Matter
Your default font settings play an important role in your document’s presentation. A well-chosen font can improve readability, maintain professionalism, and enhance the overall aesthetic of your work. By setting a default font, you ensure that all your documents are consistent, whether for business, academic, or personal use. It also reduces the need to repeatedly adjust font settings in each new document, saving time and effort.
Consistency in fonts helps create a unified look for your documents. Whether you’re creating reports, resumes, or newsletters, maintaining the same font throughout your work is key to establishing a strong visual identity. Additionally, a readable and professional font contributes to the clarity of your message, ensuring that your content is both engaging and easy to read.
Free Blank Text Generator for Google Docs
If you need a tool to help with formatting or creating text placeholders in your documents, consider using a free blank text generator. This tool allows you to create placeholders in your document that you can fill later with relevant content.
You can easily integrate this into your document to save time and maintain a clean layout throughout your work. With a tool like this, you can optimize your workflow and improve your document creation process, giving you more control over formatting. You can try using a free blank text generator to speed up your writing process.
Conclusion
Changing the default font in Google Docs is a simple yet effective way to customize your document creation process. Whether you’re preparing a professional report, an academic paper, or any other type of document, setting a default font ensures that your work remains consistent and polished.
With just a few clicks, you can personalize Google Docs to meet your needs and save valuable time in the future. Customizing fonts, adjusting paragraph styles, and troubleshooting font issues are all part of creating a seamless writing experience.
By using the tips outlined in this article, you can easily set and manage your preferred fonts in Google Docs, ensuring that your documents look the way you want them every time. Don’t forget to explore additional formatting options like headers and custom font styles to make your documents even more organized and visually appealing.
For more tips on customizing text and formatting in Google Docs, refer to the tips on how to add spaces in Instagram captions